Tile Map

This is the first tutorial in a series that covers the creation of a simple true top-down 2D game with pixel graphics, using the Godot Engine, version 4. True top-down means that the game has a strict top-down view, looking at everything straight from above.
It is assumed that you went through the Introduction series or are familiar with Godot Engine 4.
This tutorial uses Godot 4.3, the regular version, but you could also use the .NET version.
Upgrading from Godot 4.2.2
The tutorial was originally written for Godot 4.2.2 but is now updated to 4.3. Since Godot 4.3 the TileMap node is superseded by the TileMapLayer node. To upgrade an old tutorial project go to the TileMap bottom panel with the map selected, click the rightmost toolbar button that looks like a shovel and wrench, then pick the option to extract the layers as nodes. There is only a single layer, so you end up with a single node. You can then make the layer node a child of the scene root and remove the old TileMap node.
At the bottom of my tutorials you'll find links to their license and an online repository containing the finished project.
Map Scene
Our game's world will be made with 2D tiles, using Godot's tile map functionality. In the first part of this series we will create a scene containing such a map.
New Project
Create and open a new Godot project. As we won't import Blender files go to the project settings and deactivate General › FileSystem › Blender › Enabled to get rid of the related warning that otherwise shows up each time the project is opened.
We will build our game's level with 16×16 pixel tiles, constraining the maps to a single screen of 25×15 tiles. Thus we require a viewport size of 400×240 pixels. Set the viewport width and height accordingly in the project settings under General › Display › Window.
For the root node of our scene pick the Other Node option and select the regular Node type. Name it Map
and then save the scene as map.tscn
.
Tile Map
Godot's tile maps made with TileMapLayer nodes. Each node represents a single layer that can contain tiles. Create such a node as a child of Map
.

TileMapLayer.As we're only using a single layer we will refer to it as the entire tile map and name it TileMap
. We leave all settings of this tile map as they are, except that we need to provide a tile set, which defines the tiles that the map can contain.
Use the dropdown menu of the Tile Set property to create a new TileSet resource. Then use the same menu to save the tile set as tile_set.tres
. This isn't necessary for a single layer, but to share the tile set among multiple layers and even entirely separate maps later we store it separately.
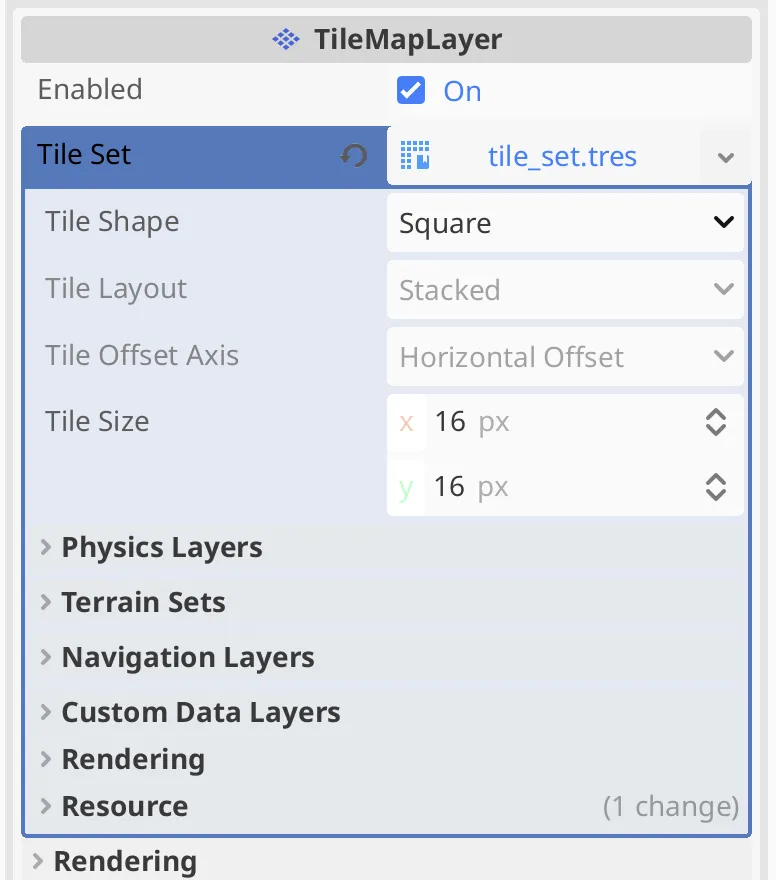
TileSet resource.We leave the tile set's settings at their default values. It is set to use square 16×16 tiles, which is what we need.
Defining Tiles
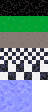
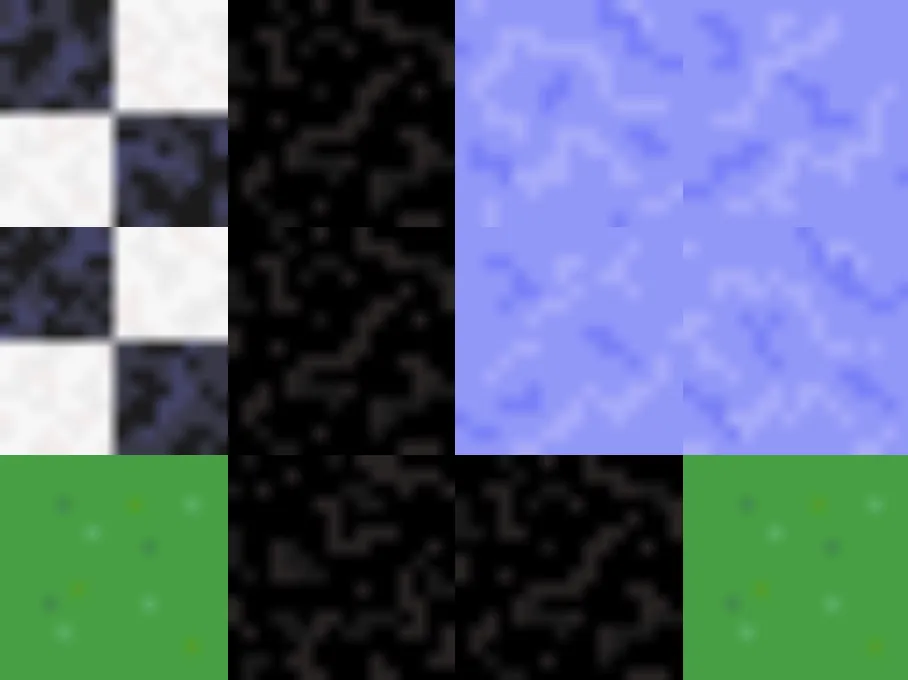
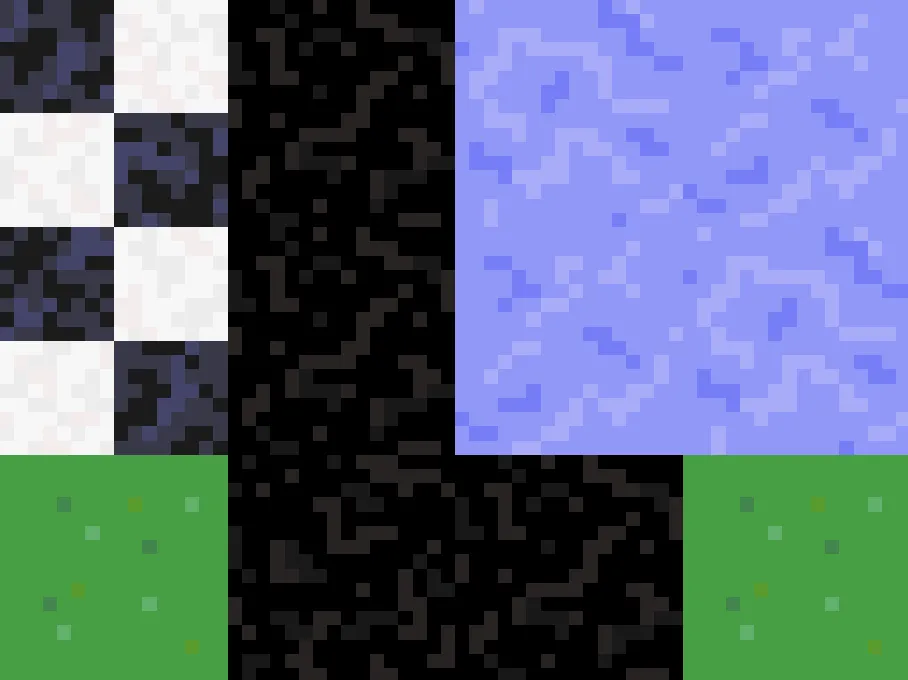
The tiles need textures, for which we'll use this texture atlas. It contains simple pixel art for a few tile types. The top row has solid wall tiles. The second row has grass or green carpet tiles. Below that is a row of sand or dirt tiles. The next two rows contain marble checker patterns of small and large size. Finally, at the bottom are four water tiles. Two more tiles could be contained in this texture, but their space is unused and they are fully transparent.
Import the atlas into the project by putting it into the project folder, either via the file system or by or dragging and dropping it below res://
in the FileSystem
tab.
To use the texture we have to go to the tile set editor. To get there we first need to have our tile map node selected. With a TileMapLayer selected the bottom panel of the editor will contain TileSet and TileMap options, next to Shader Editor.
Switch to the tile set editor. It will display instructions to select or create a tile set. On its left side is a list of texture resources. Add our texture to it, either via the +
button or by dropping the texture resource onto the list. This will pop up a window stating that the atlas's texture was modified, asking if you would like to automatically create tiles. Pick the Yes
option.
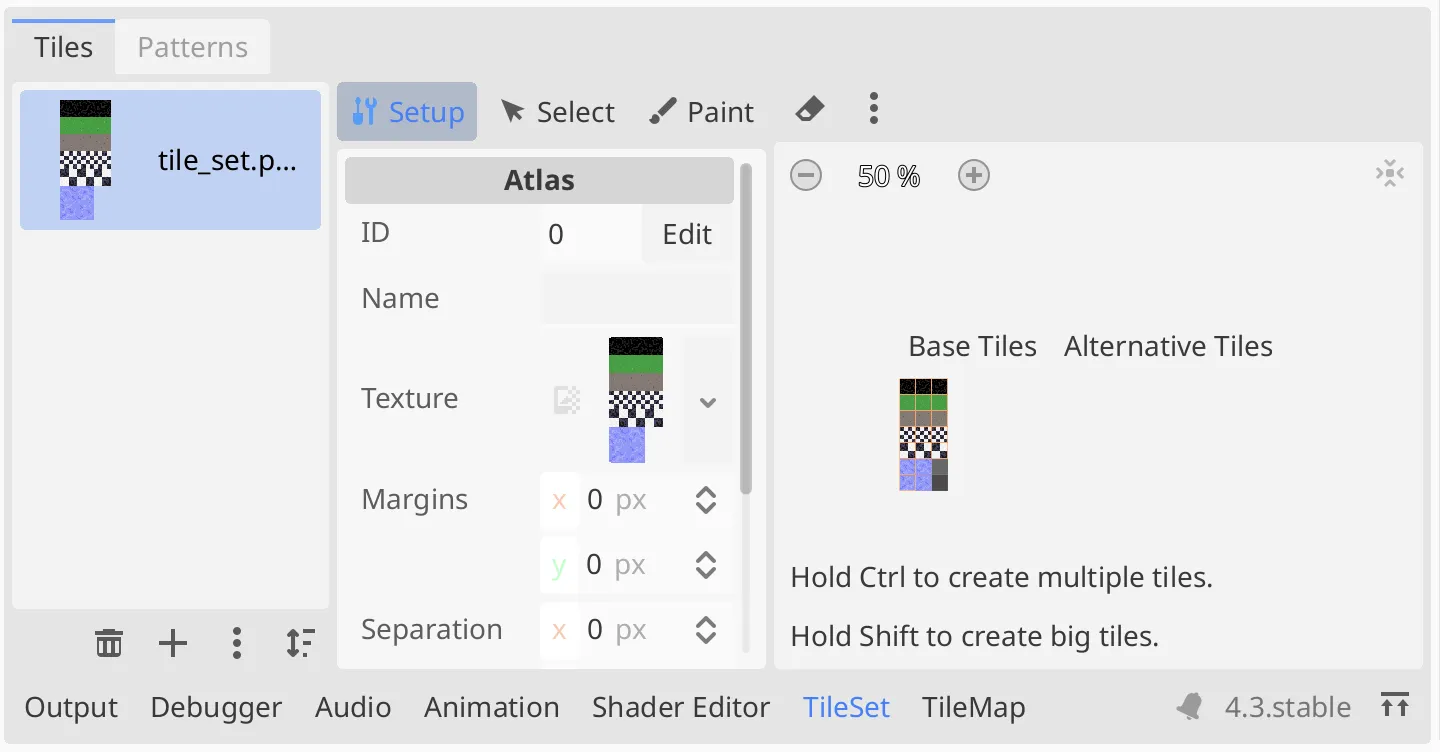
We now have a functional tile set based on our texture. When in Setup mode the middle region of the editor contains general settings of the tile set. The right side contains a view of the texture, showing which tiles have been defined. In our case there are nineteen tiles, because there are two empty tiles at the bottom right that got skipped.
Drawing a Map
Switch to the tile map editor. This gives us a toolbar with various painting modes. Pick either the second or third option from the left, which are the Paint and Line modes. Then select the top left tile in the atlas.
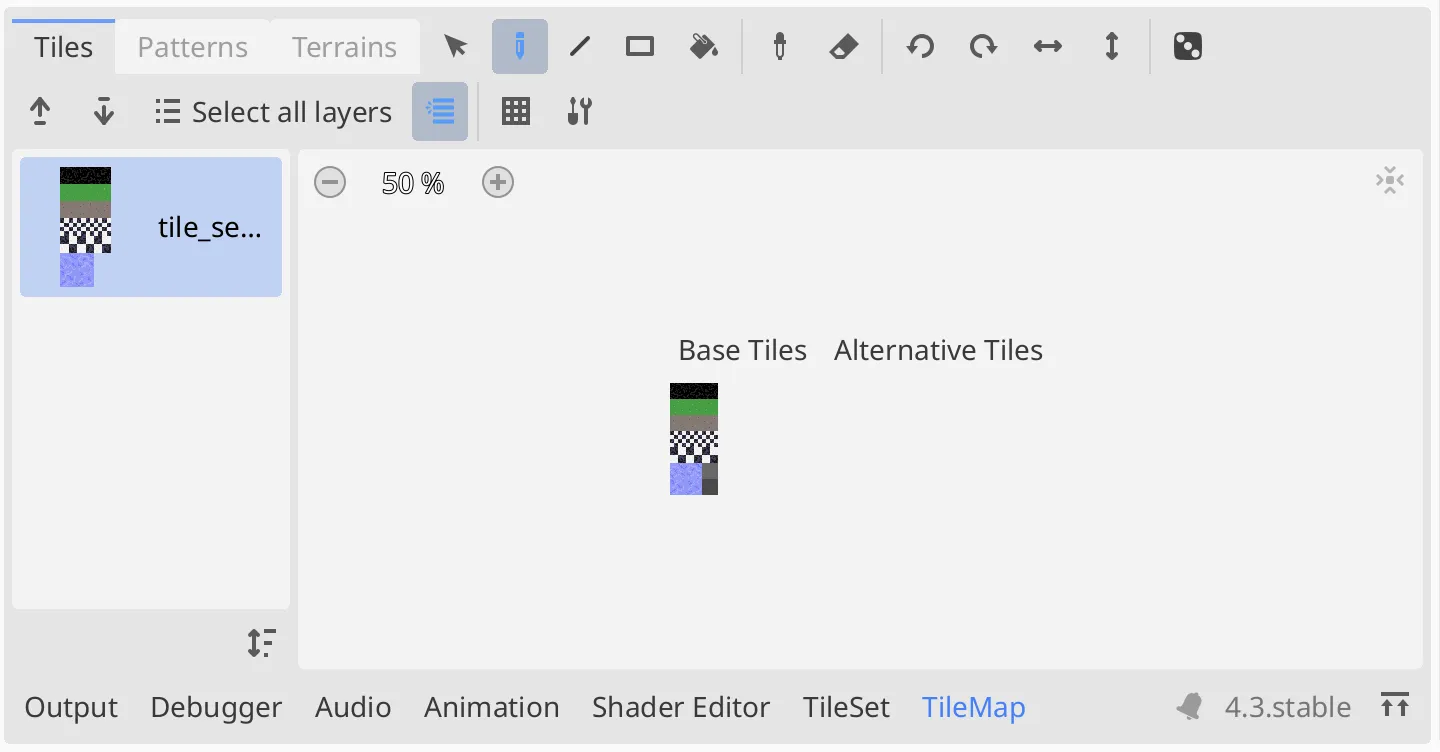
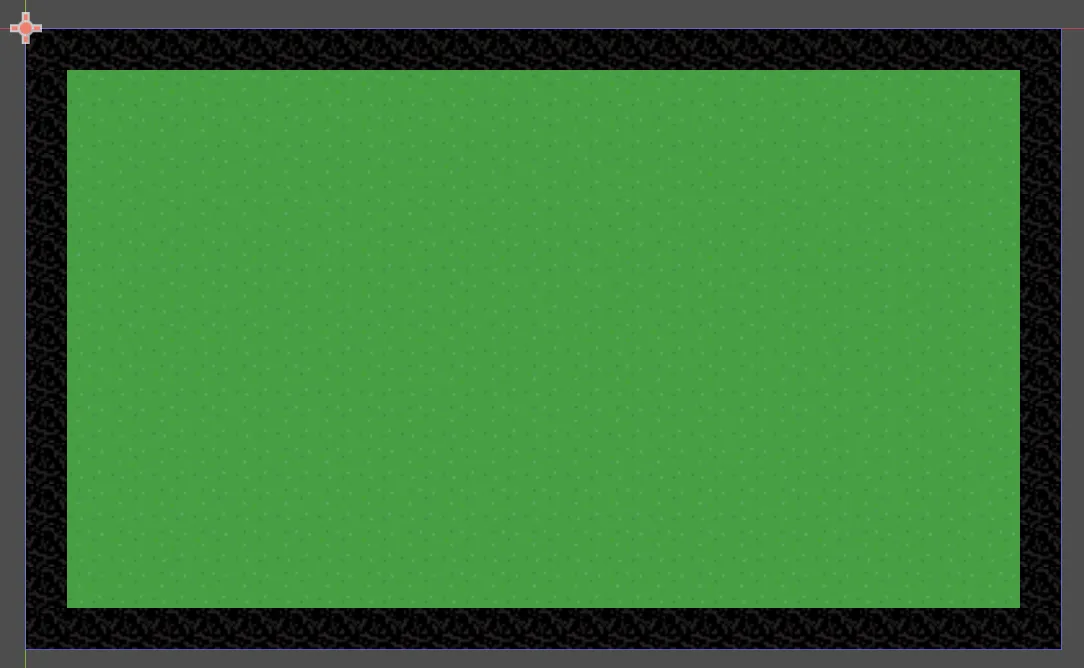
Now we can draw in the 2D viewport. Create a border along the viewport boundary.
Let's quickly fill the interior map with the first grass/carpet tile. Switch to the fifth draw mode, which is Bucket, and enable the Contiguous toggle that shows up. Then click in the empty area inside the map to fill it. Note that the viewport will show which tiles will be affected when hovering the cursor over a tile.
What does contiguous mean in this context?
It means that Bucket mode acts like the typical bucket fill tool of drawing programs, affecting a region of connected identical tiles. When Contiguous is turned off it instead acts as a global tile replacement tool.
Tile Variety
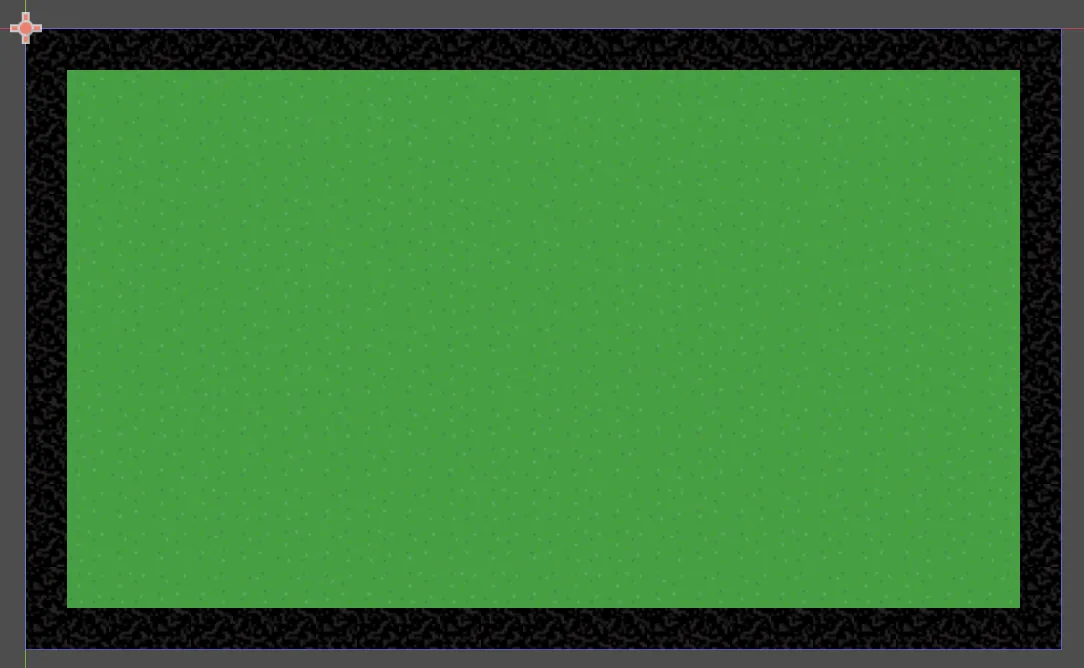
When a region is filled with the same tile there is obvious repetition, which is boring and looks unnatural. That is why there are multiple variants of each tile in our tile set.
Select all three green tiles in the atlas. Then enable the Place Random Tile mode, which is represented by a dice icon in the toolbar. Then bucket fill the green area again. The whole are now contains a mix of our three tiles, placed randomly. You could still get large clumps of the same tile, so you might want to bucket fill those areas again for better variety. Do the same for the border, filling it randomly with the three wall tiles.
What does scattering do?
Random bucket fill has a Scattering mode, which can be used to include the probability that a tile gets skipped while painting, leaving it as it was.
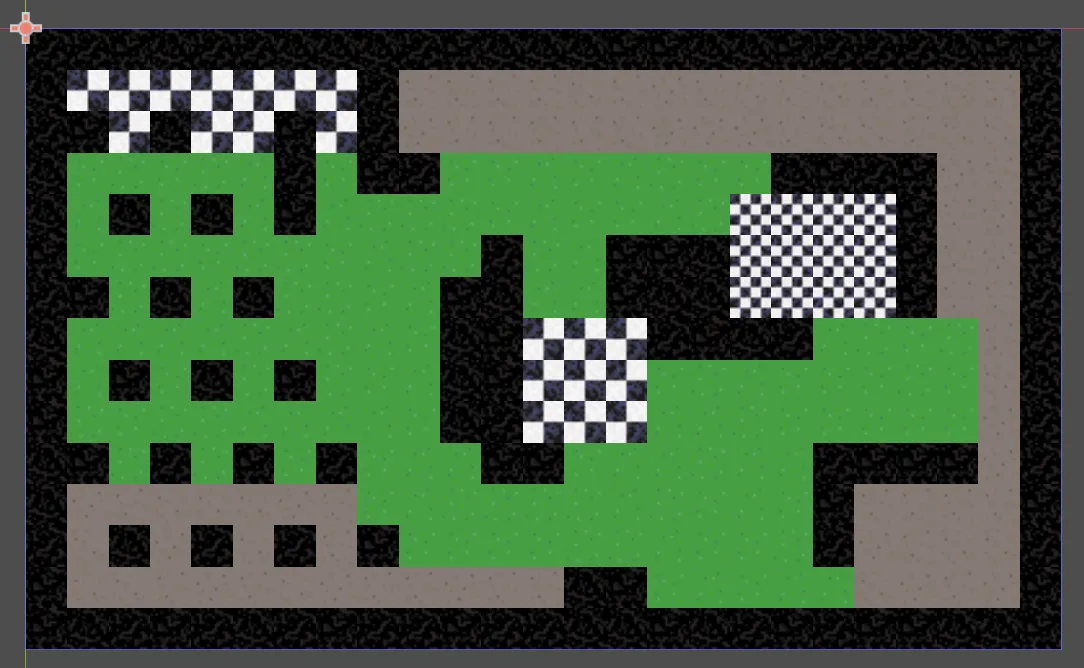
The other drawing modes can also paint random tiles. Use this to paint in the map with everything, except water.
Animating Water
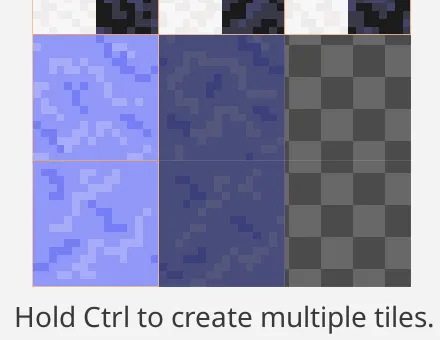
We left out the water tiles because they need special treatment. To make them look like water we're going to animate them. We have four water tiles, two rows of two tiles each. Each pair of tiles contains two frames of an animation that makes it look like the water is moving back and forth a little.
To turn these four tiles into two animations we first have to remove the regular water tiles in the second column. Go to the tile set editor and delete those two tiles, either by using the Eraser mode via the toolbar, or by using the Delete option via each tile's context menu.
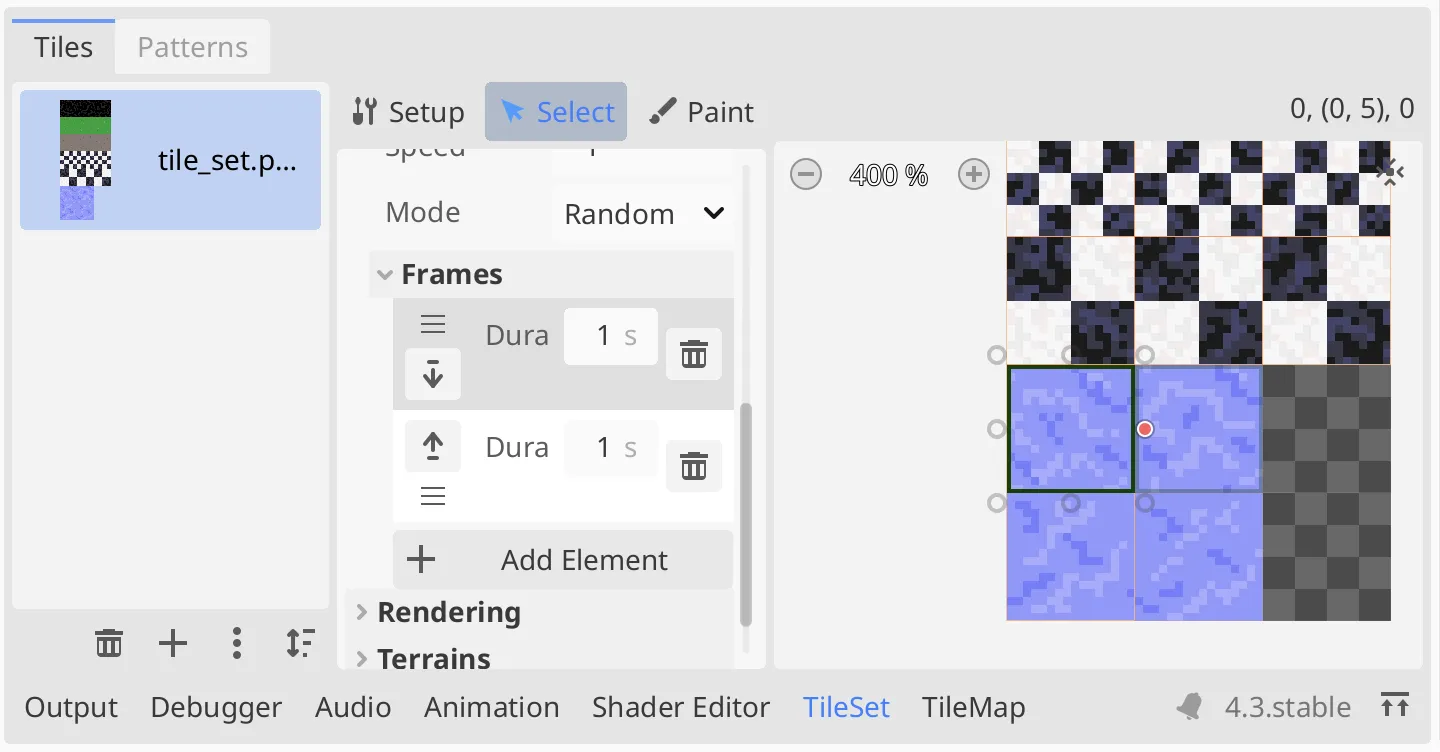
Switch to Select mode and pick the top water tile. The properties of that tile are now shown in the middle of the tile set editor. Under Animation, set Mode to Random Start Time so water tiles don't animate in lockstep. Then add one element to Frames. Leave their Duration at one second. This is enough to get our two-frame animation working. Do same for the bottom water tile.
Don't we have to set the animation's columns?
Animation › Columns is used for vertical arrangement of frames in the atlas. It controls after how many columns the animation jumps to the next row. When set to zero there is only a single row of frames. If all frames were laid out in a single column instead of a row then Columns should be set to 1.
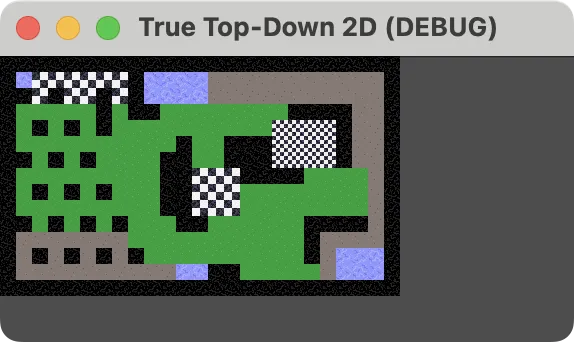
Now paint some water, randomly placing the two animations. Our water isn't pretty, but it gets the idea across.
Pixel Perfect
We are creating a low-resolution pixel game. Our pixels should look perfect, sharp and square. At the same time we want our game to be scaled up so it is large enough to be playable. We need to change some settings to make this happen.
Texture Filtering
When we zoom in inside Godot's viewport our tiles become blurry. The tile edges remain sharp but the pixels inside them become a mess. This happens because Godot uses linear texture filtering by default.
As our current viewport settings ensure that each pixel of a texture exactly matches a display pixel we won't have this problem when running the game, so linear texture filtering is fine. However, we also want our map to look as it should when working on it in the editor while zoomed in. We can do this by setting our tile map's CanvasItem › Texture › Filter property to Nearest.

In this mode, when sampling the texture the nearest one is picked instead of linearly blending the closest four pixels.
Viewport Scale
When running the game we get a small window where the game pixels exactly match the display pixels. This window is tiny. The window is resizable by default, but if we increase its size by dragging its edges or corners we end up seeing more or less of the viewport, potentially seeing beyond the edge of the map. This happens because window stretching is disabled by default.
The stretch mode is found in the project settings, under General › Display › Window › Stretch › Mode. Set it to viewport.
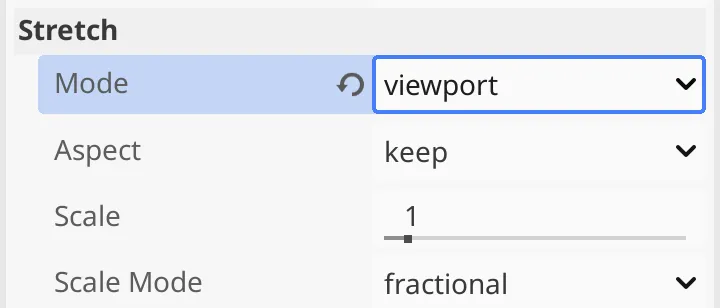
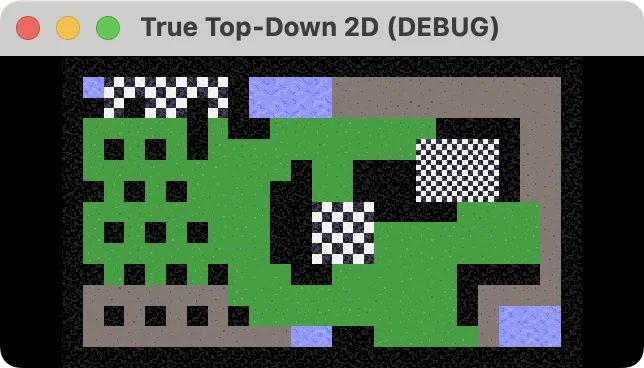
This makes Godot render the viewport at the exact size that we specified, then the result is drawn in the window, stretch to fill it. Because Aspect is set to keep, the original aspect ratio is enforced to prevent deformation caused by nonuniform scaling. Letterboxing is used in this case, adding either horizontal or vertical black bars at the edge of the window.
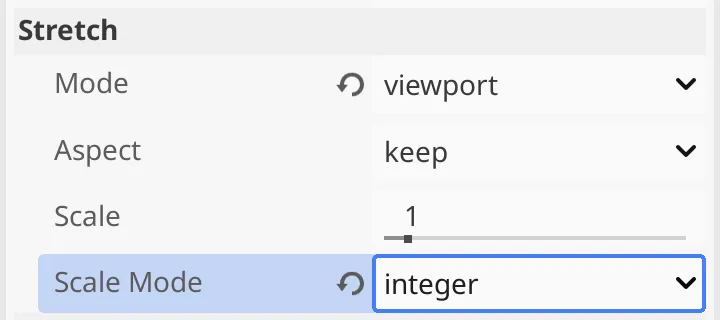
Keeping the aspect ratio intact is not enough to guarantee pixel-perfect results. We have to restrict the viewport so it only scales by whole numbers. This is done by setting Scale Mode to integer.
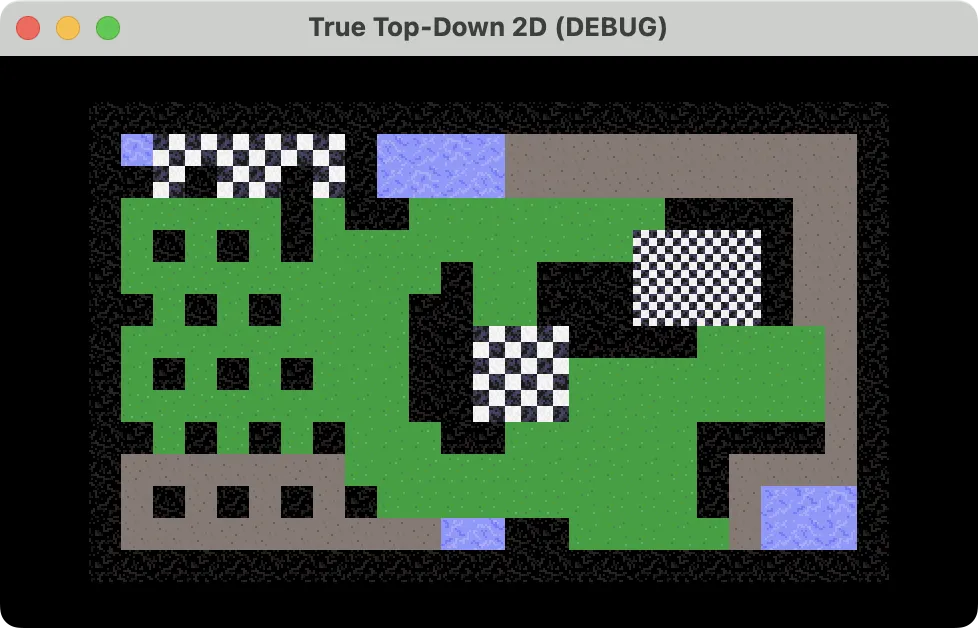
If we resize the window now the viewport will keep its size, staying centered in the window, surrounded by a black border. But once the window becomes large enough to contain the viewport at double size will it be drawn at that size. Thus each game pixel maps to a 2×2 block of display pixels. The same goes for triple, quadruple, or any other integer factor.
What about the stretch scale?
The stretch Scale factor is used to zoom the viewport. For example, when set to 2 only the top left quadrant of our map will be visible, at double its normal size. Then viewport stretching is applied on top of that.
To immediately show the game at maximum size let's go fullscreen by setting General › Display › Window › Size › Mode to Exclusive Fullscreen.
The next tutorial is Player Character.